This is one of those back-pocket dinners I turn to again and again. And again.
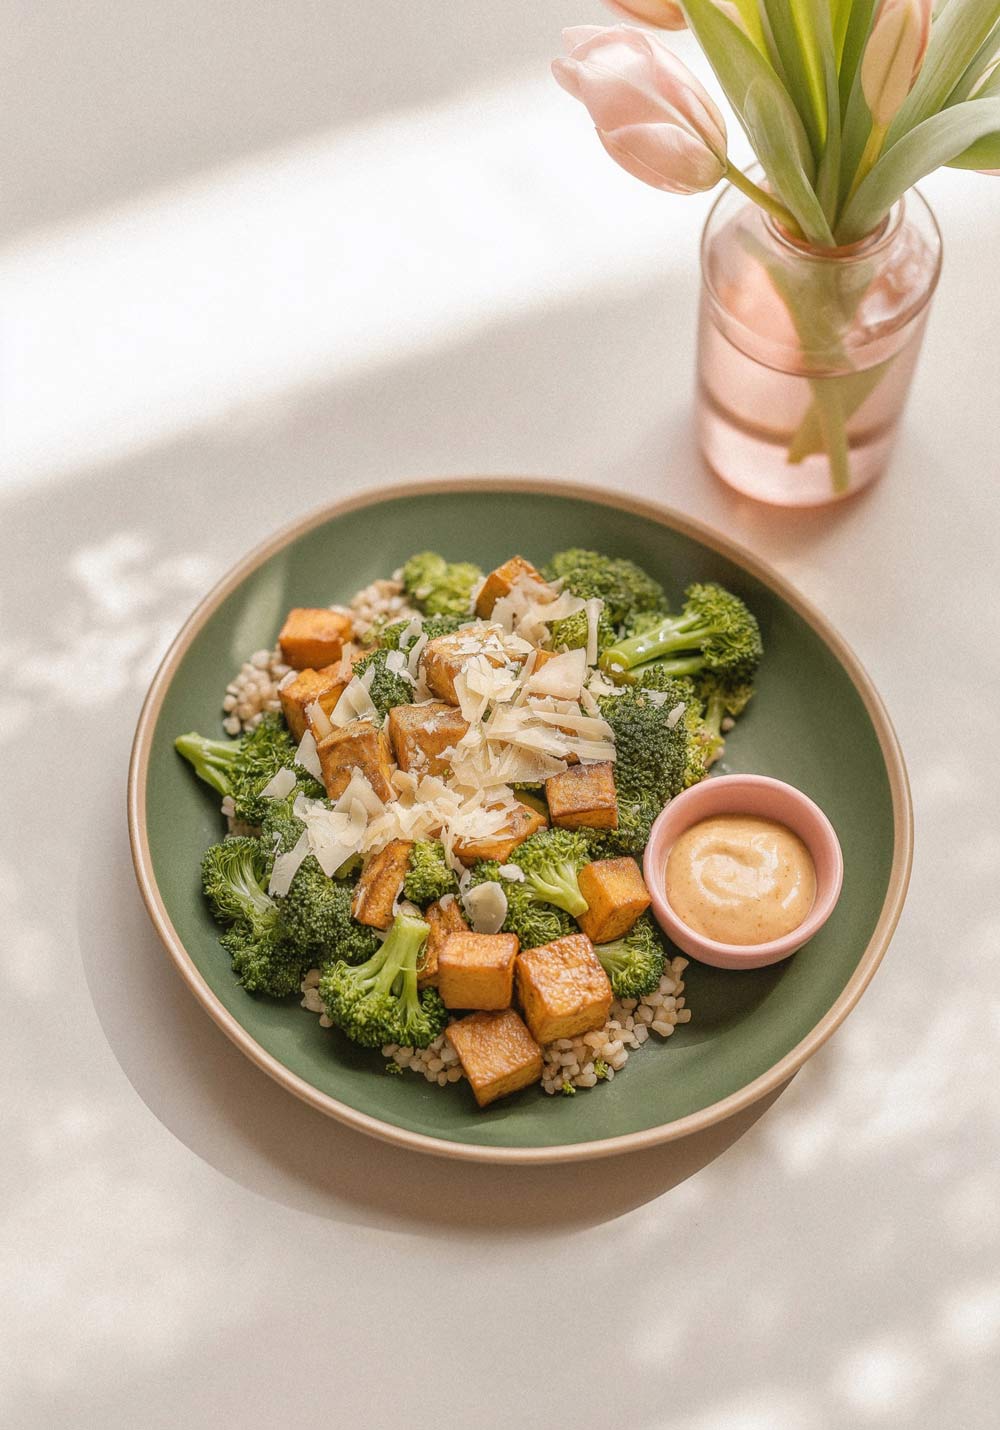
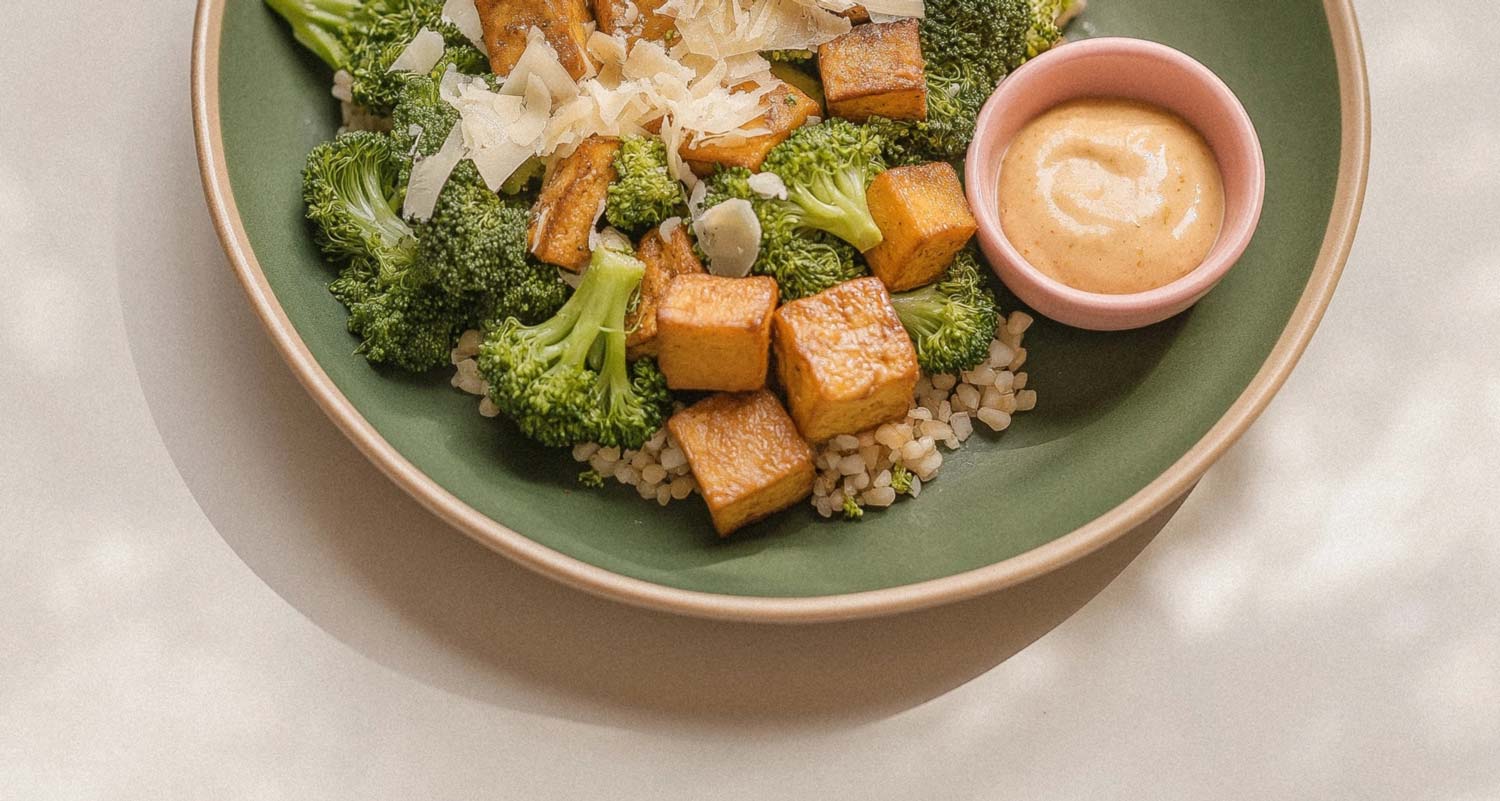
It’s cozy, crisp, saucy, and somehow both energizing and comforting at the same time. The tofu is oven-baked until golden and crispy (no frying!), the broccoli is roasted until perfectly tender, and everything gets layered over fluffy rice and drizzled with a savory, sticky soy-ginger sauce that pulls it all together.
It’s plant-based, protein-packed, and weeknight-friendly– but tastes like takeout in the best way.
This post may contain affiliate links, please read our disclosure policy for details.
Why You’ll LOVE This Recipe
“Tastes like comfort in a bowl– this recipe instantly made it into our weekly dinner rotation!” – Samantha H.
How to Make This Recipe
Please see recipe card at the bottom of this post for the full recipe details.
- Press and prep the tofu. Wrap tofu in a clean towel and press for at least 15 minutes. Cut into cubes and toss with oil, cornstarch, and a pinch of salt.
- Roast the tofu and broccoli. Spread the tofu on one baking sheet and the broccoli on another. Roast at 425°F for 25–30 minutes, flipping once halfway through.
- Make the sauce. While everything roasts, whisk together soy sauce, maple syrup, ginger, garlic, vinegar, and sesame oil in a small saucepan. Simmer until slightly thickened.
- Cook your rice. Make it fresh or reheat leftovers—both work.
- Assemble your bowls. Add rice, top with crispy tofu and broccoli, and drizzle generously with sauce. Sprinkle with sesame seeds and green onions if you like.

Recipe Tips
Press that tofu. Removing moisture is key to crispy edges!
Roast at high heat. 425°F gives you that golden, roasted texture without drying everything out.
Make extra sauce. It’s so good, you’ll want leftovers for stir-fries or noodles.
Mix it up. Don’t be afraid to swap in whatever veggies you have on hand.
Recipe FAQs
Recipe Variations
What to serve with this recipe
This bowl is a complete meal on its own, but if you want to round it out or serve it as part of a bigger spread, it pairs beautifully with a crisp cucumber salad, steamed edamame, or a light miso soup. You could also serve it with veggie spring rolls or roasted carrots with sesame oil and lime. And if you’re like me—a sauce lover—don’t forget extra glaze on the side for dipping!
Shop The Tools

Dutch Oven 
Immersion Blende 
Salad Spinner 
Pink Dishtowels 
Baking Pans 
Salt Box
Get on the List
Subscribe to Receive the Made & Loved Ebook
Perfect Chicken With Crispy Fries
Ingredients
Equipment
Method
- Begin by preparing the marinade for the chicken. In a large mixing bowl, combine olive oil, garlic powder, onion powder, paprika, salt, and pepper. Whisk these ingredients together until they form a smooth mixture.
- Add the chicken pieces into the marinade, ensuring they are well-coated. Cover the bowl with plastic wrap and allow it to marinate in the refrigerator for at least 30 minutes.
- While the chicken is marinating, preheat your oven to 425°F (220°C).
- Wash and peel the potatoes. Cut them into evenly sized strips, about 1/4 inch thick.
- Place the cut potatoes in a large bowl and drizzle with olive oil. Season with salt and pepper, tossing until well coated.
- Spread the seasoned fries in a single layer on a baking sheet lined with parchment paper.
- Heat a large skillet over medium-high heat and add a splash of olive oil. Add the marinated chicken pieces and sear for about 5-7 minutes on each side.
- Transfer the chicken to a plate and cover it with foil to keep warm.
- Check the fries after about 20 minutes in the oven. Flip them over and return them to the oven for an additional 15-20 minutes, or until golden and crispy.
- Once the fries are done, allow them to cool for a few minutes while you slice the chicken into strips if desired.
- To serve, place a generous portion of crispy fries on each plate, top with the sliced chicken, and garnish with fresh parsley.
- Enjoy your Perfect Chicken With Crispy Fries immediately for the best flavor and texture.
Notes
Did you make this recipe?
We’d love to see! Tag @olivekitchen on Instagram! #olivekitchen


This tastes like comfort in a bowl– this recipe instantly made it into our weekly dinner rotation!